7 Tips for Choosing Bottom Gusset Pouches
Choosing the right Bottom Gusset Pouches can influence shelf presence, filling efficiency, storage stability, and customer trust. The pouch must stand upright without wobbling, protect the product from moisture, and fit the filling line accurately. Small details matter. A weak seal can ruin an otherwise excellent package.
Marketing authority Philip Kotler describes packaging as “designing and producing the container or wrapper for a product.” That definition remains practical for Bottom Gusset Pouches. Packaging is not merely a printed surface. It is a working system involving film structure, gusset depth, closure type, barrier performance, and transport conditions. Experienced buyers should request material specifications, seal-strength data, and samples filled with the actual product. Empty samples can mislead.
The seven tips in this guide examine the decisions that deserve closer attention. They include product protection, pouch dimensions, material selection, opening convenience, printing quality, sustainability claims, and supplier reliability. A coffee pouch may need aroma retention and a degassing valve, while pet food packaging may require stronger seals and tougher film. Different products create different risks. There is no perfect pouch.
That is worth admitting.
A lower price may look attractive, yet poor fit can create waste, slower packing, or damaged cartons. I have seen packaging decisions focus heavily on appearance while ignoring warehouse humidity and rough handling. That approach needs reconsideration. Reliable selection combines visual testing, production trials, and honest communication with the manufacturer. With these checks, Bottom Gusset Pouches can support both practical performance and a more credible brand experience.
Define the Product’s Purpose and Filling Requirements
Define the Product’s Purpose and Filling Requirements
A bottom gusset pouch should match the product, not just the shelf design. Start by identifying what the pouch will hold, how it will be filled, and how customers will use it. Powdered products may settle into corners and strain weak seals. Granules can create pressure during filling. Liquids require stronger leak resistance and careful seal placement. I have seen attractive packaging fail because the filling line was ignored.
Tip 1: Measure the product’s density and volume. A lightweight product may need more internal space than its weight suggests. Record the filled pouch height, width, and gusset expansion. Do not rely on empty samples. They often look misleading.
Tip 2: Check the filling method before choosing pouch dimensions. Hand filling, auger filling, and automated systems create different stresses. The pouch must open smoothly and remain stable during dosing. A wider bottom gusset usually improves standing performance, but it may reduce packing efficiency. This trade-off deserves testing.
Tip 3: Simulate real handling. Fill trial pouches, seal them, stack them, and move them repeatedly. Inspect the corners and seal lines afterward. I would also test slight overfilling, since operators may not always fill perfectly. That is an imperfect detail, but it reveals practical weaknesses. Keep notes on filling speed, product dust, seal cleanliness, and pouch deformation.
Select the Appropriate Bottom Gusset Structure and Size
Bottom gusset selection starts with the product, not the artwork. A Doyen-style bottom creates a stable base for stand-up pouches. K-seal structures can provide stronger support for heavier contents. For powders, granules, or irregular pieces, test how the product settles after filling. A pouch that stands empty may collapse when filled.
Size must match both capacity and equipment. Measure product density, fill weight, seal width, and headspace before choosing pouch dimensions. As a practical starting point, allow 10–15% extra volume for settling and handling. This is not universal. Fragile products may need more space, while compact products may need less. The bottom gusset should open fully without overstressing the corner seals. Small changes matter.
The Flexible Packaging Association reported estimated U.S. flexible packaging sales of about 39.8 billion dollars in 2023. Smithers also identifies lightweight, high-performance flexible formats as continuing growth areas. These figures support careful material and size planning, but they do not replace filling trials. Check seal strength, drop resistance, shelf stability, and machine alignment. ASTM test methods can improve consistency across samples. A perfect calculation rarely survives the first trial. Run at least three production-like tests, record the failures, and revise the gusset width or pouch height when needed.
7 Tips for Choosing Bottom Gusset Pouches: Select the Appropriate Bottom Gusset Structure and Size
The chart shows practical starting-point dimensions for stand-up bottom gusset pouches used for dry products with a bulk density of approximately 0.6–0.8 kg/L. As the target fill size increases, a deeper gusset is generally needed to improve stability, usable volume, and shelf presentation. Final dimensions should be verified through product testing because density, filling method, seal width, and headspace affect the required pouch size.
Evaluate Materials, Barrier Properties, and Product Protection
7 Tips for Choosing Bottom Gusset Pouches
Evaluate Materials, Barrier Properties, and Product Protection
Choosing a bottom gusset pouch is not only about appearance. It is a protection decision.
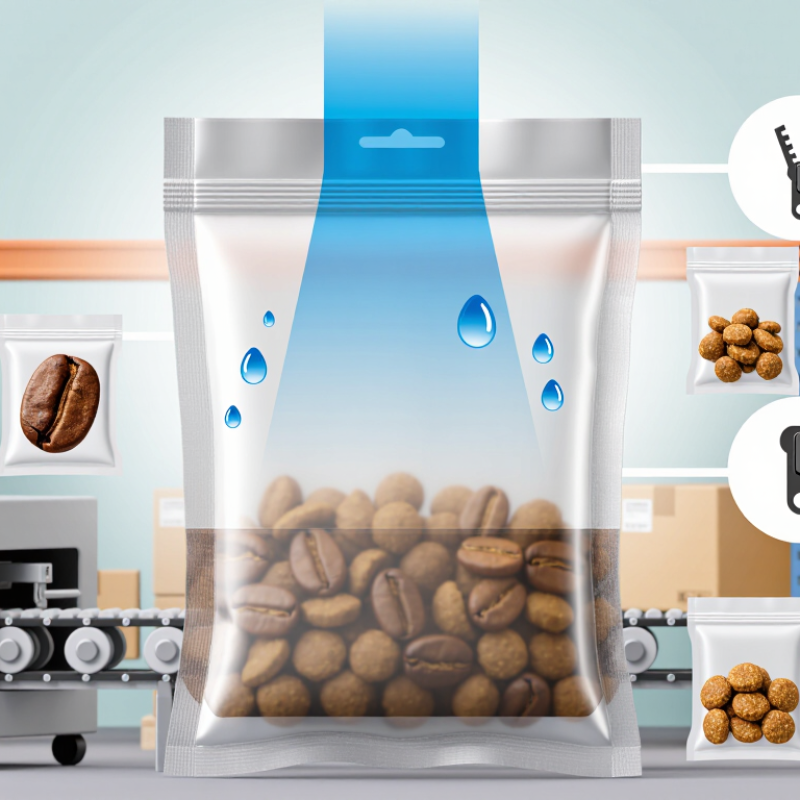
Start with the product’s actual risks. Moisture-sensitive powders need strong water vapor resistance. Aromatic products need reliable oxygen and aroma barriers. Oily contents may weaken unsuitable films or adhesives. A practical material review should examine film structure, seal strength, puncture resistance, and product compatibility.
Material Review Film structure
Seal strength
Puncture resistance
Product compatibility
The pouch must stand upright without stressing its bottom seals. Check the gusset design with the filled product, not an empty sample. A heavier fill can change the pouch shape and create leaks during transport. I have seen attractive packaging fail because the seal area became contaminated with fine particles. That detail is easy to overlook. It should not be.
Ask for barrier test data, but read the conditions carefully. Temperature, humidity, and test methods can change the results. Oxygen transmission and water vapor transmission values are useful only when they reflect real storage conditions. Laboratory data helps, yet physical trials remain essential. Fill samples, stack them, drop them, and inspect the seals afterward.
Product protection also depends on closure quality and handling. A resealable feature should close smoothly after repeated use. Select a suitable pouch size to limit excess air and movement. Consider light protection when the contents are sensitive to exposure. Material choices sometimes involve compromise, and a perfect structure may not exist. Reliability comes from testing those compromises before production.
Compare Closures, Seals, and User Convenience Features
Tip 1: Compare closure types before judging appearance. A zipper suits repeated access, while a tear notch supports quick, one-time opening. I have found that stiff zippers frustrate users with wet or cold hands. Test opening with one hand, not just clean, dry fingers.
Tip 2: Inspect the seal under realistic pressure. A strong bottom seal should remain flat when the pouch stands full. Heat, dust, and uneven filling can weaken poor seals. Ask for samples, then fill them with the actual product. Squeeze, drop, and store them for several days. Laboratory results help, but real handling often reveals small failures.
Tip 3: Measure everyday convenience carefully. A wide opening helps users pour without spilling, while a clear window improves product visibility. Rounded corners can feel safer and reduce snagging inside bags. Consider tactile marks for easier opening in low light. Some features sound useful but add cost without improving the experience. I once favored a larger zipper, then noticed it reduced shelf stability. That mistake changed how I evaluate convenience: every feature must support handling, protection, or both.
